Mustard is one of the easiest things you can make in your kitchen. I highly recommend it, as it is much tastier than anything you get at the grocery store and it’s so easy to play around with the ingredients.
There are a two different ways to make mustard (that I use) – you can use just the whole mustards seeds alone, or a combination of the seeds and powder. I prefer to use whole seeds but when I’m in a rush, I use the combo method. Using the whole seeds is the most “complicated” and my preferred method, so that will be the one we go through in detail but once you’ve got that down using the other method is easy and simple (and I will talk a bit about it).
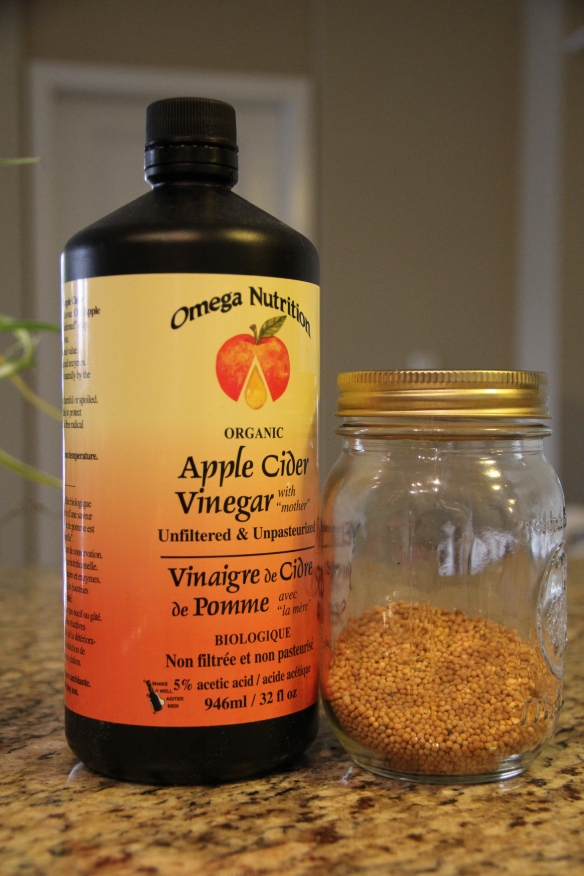
So, there are only two basic ingredients needed to make mustard – Apple cider vinegar and mustard seeds. You could simply use just these two ingredients and make a beautiful, simple, slightly sweet mustard. But, it’s oh so easy to kick it up a bit. There are three types of mustard seeds as well, yellow, brown and black. Yellow being the mildest and black the spiciest. If you were using the black seeds (and maybe with the brown as well) I would soak the seeds overnight in water and then drain before starting your mustard just to cut down on some of the bitterness. So, here we go.
Step 1
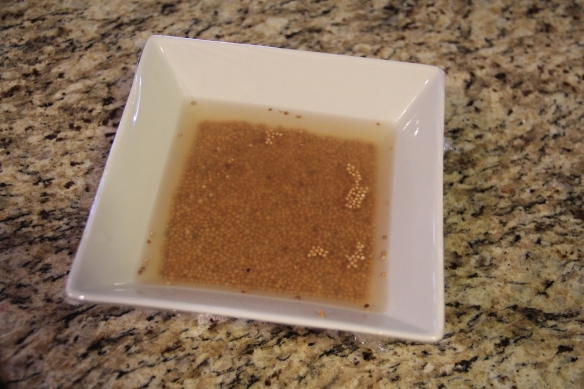
Mix your seeds and apple cider vinegar in equal quantities by volume (I used 1/2 cup of each) in a bowl. You can use a combination of different seeds or just one kind. I used yellow seeds as I’m just making a basic mustard here. You could substitute for a different type of vinegar but if it’s less than 5% acid I would use a bit more.
We also need to add a bit more liquid, about half of what you already added (so 1/4 cup for me). I used plain water, but the sky is kind of the limit here. Beer for a malty taste, white wine for a more dijon like mustard, red wine for a fruity taste, more apple cider vinegar for a sweeter mustard, the list goes on. Don’t be afraid to experiment!
Cover this up with plastic wrap and let it sit for 8-12 hours.
Step 2
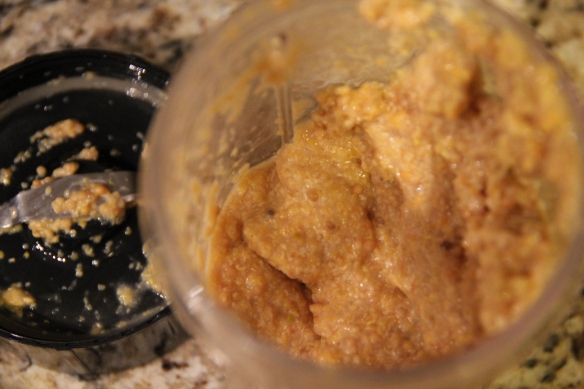
Once your mustard has finished sitting, it needs to be processed a little bit. You can use a food processor, blender, whatever you have on hand (or whatever works for the finished product your going for). I used my Magic Bullet. You can grind as little or as much as you want here. This would also be a great time to add any herbs, spices, sugar, honey, etc you want. I added just a pinch or two of kosher salt.
Step 3
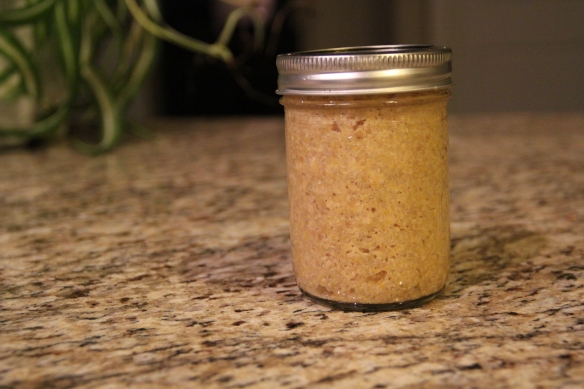
Once the desired consistency is reached, grab a clean jar (glass is best as mustard can sometimes take on a plastic like taste) and spoon it it. Mine made about 1 cup.
Now comes the hardest part. You have to let your mustard sit in the fridge for at least another 24 hours before you can eat it! I know! Well, you could eat it right away, but it will still be quite bitter. But you’re done. That’s it. Mustard made. Enjoy.
Now, if you’re in a bit of a rush to get the mustard in the fridge or you’re just a bit lazy, you can use the other method which is even easier.
For the combo method you use a combination of seeds and powder. You usually want to use more powder than seeds (so for the previous recipe it would be about 1/4 cups seeds and 1/2 cup powder). Because you aren’t using as many whole seeds you can also use less vinegar, but you still need the same amount of liquid. For example, you could use only 1/4 vinegar and 1/2 cup water. Again, don’t be afraid to experiment!
Grind up the seeds just slightly. Mix all the ingredients together (liquid, seeds, powder, and any additions), put in a jar and pop in the fridge. You still have to wait the 24 hours to eat it though, sorry!
Mustard made at home can last up to a few months in the fridge, but if your house is anything like ours, it won’t need it!
– Written by Nicole


